Playground Planning Guide: 8 Steps to Success
Playground projects require a great deal of planning and decision-making. While this can feel overwhelming, the end result is tremendously rewarding. Our 8-step playground planning guide will help get you started and keep you on track for success. We encourage you to reach out to us at any time for further information and assistance.
1. Form A Playground Planning Committee
Step one of your playground journey is to bring together people with varied skills to help with all facets of your project. From planning, design and fundraising to site prep and installation, try to find people with diverse expertise to divide the tasks and make the process more enjoyable.
2. Determine Your Objectives
Setting goals and objectives is an important step in playground planning. Questions to ask yourself:
- what age groups will use the playground?
- how many children do you need to accommodate?
- what site/location do you have in mind?
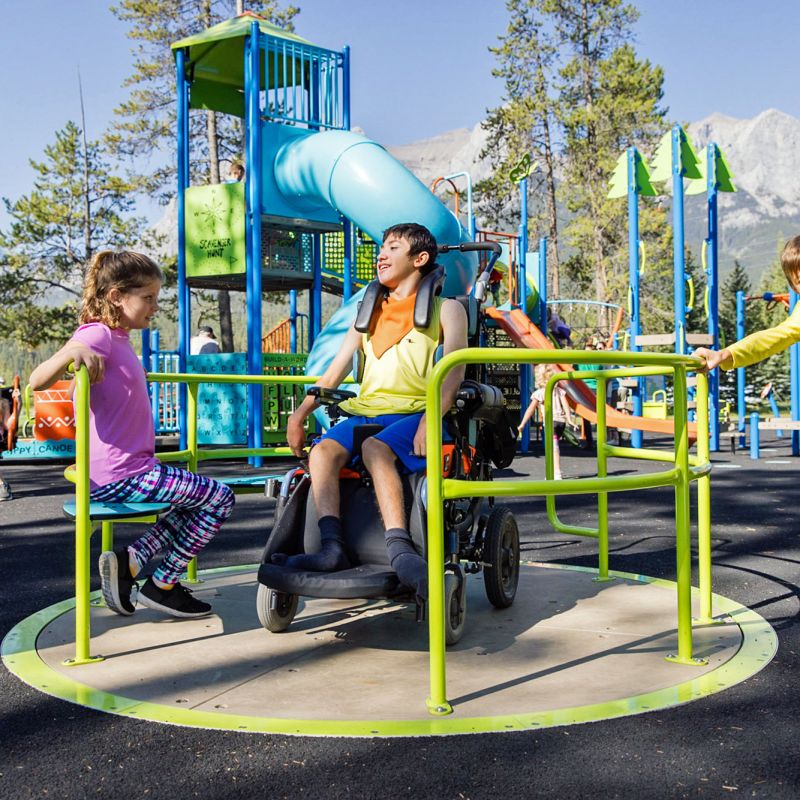
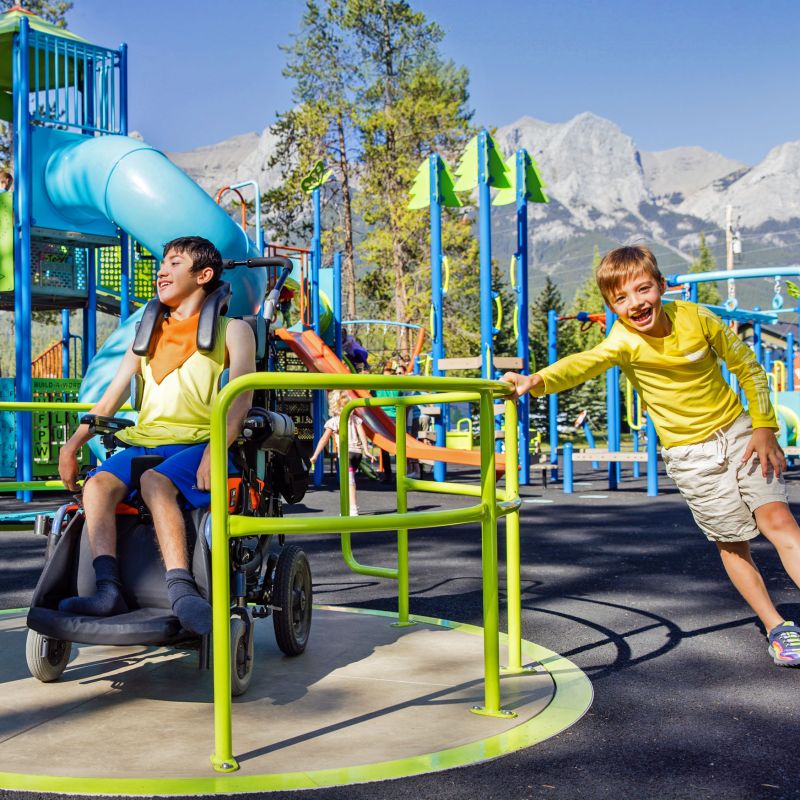
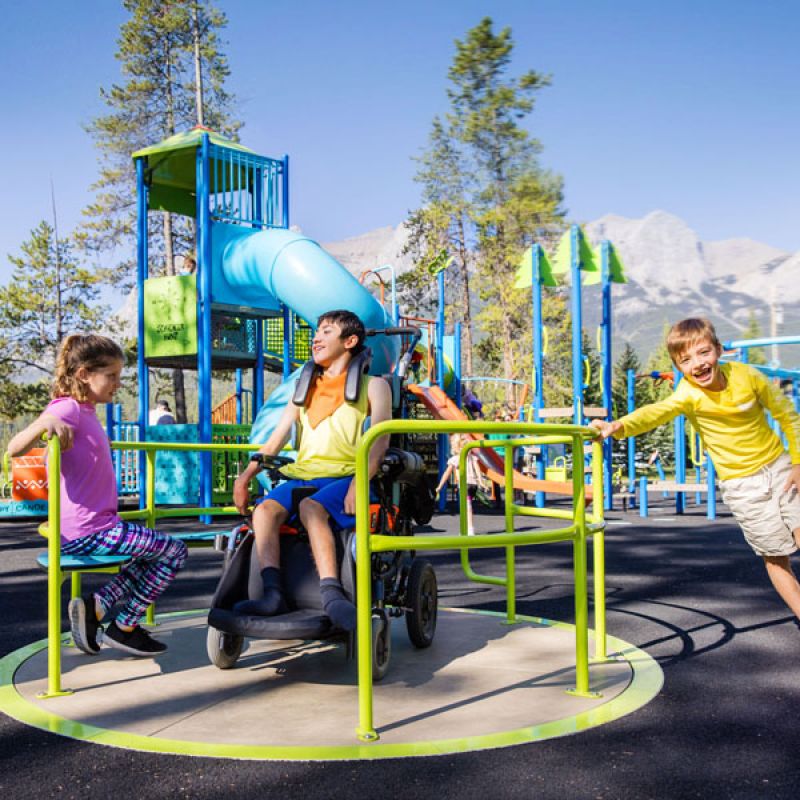
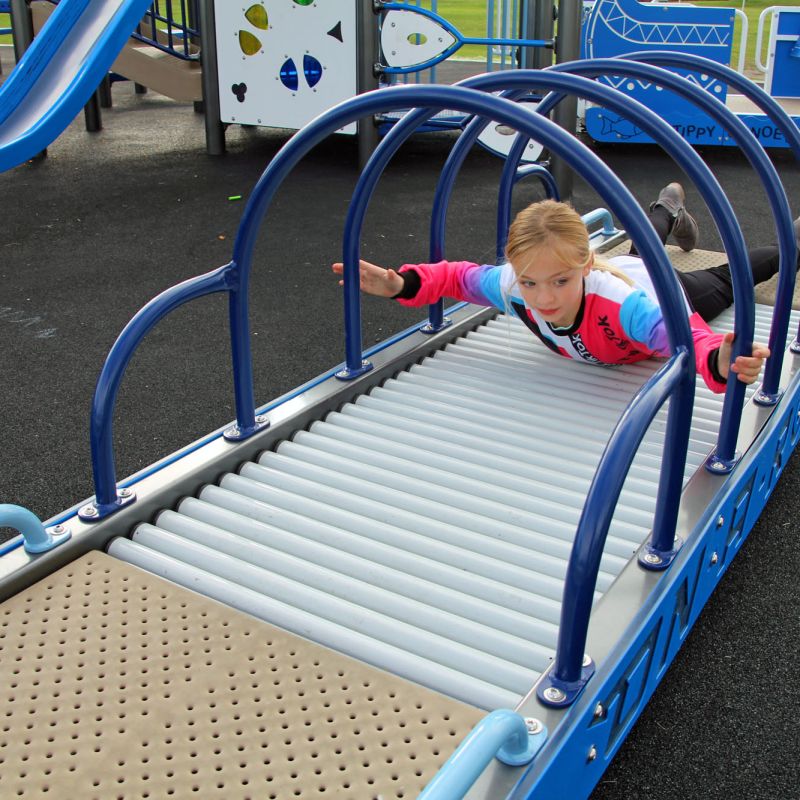
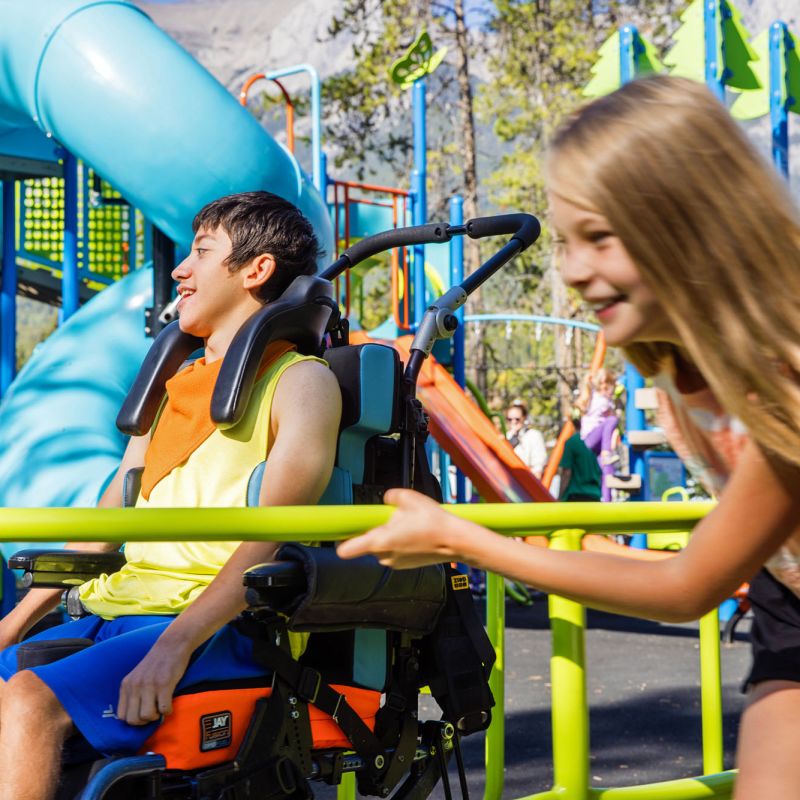
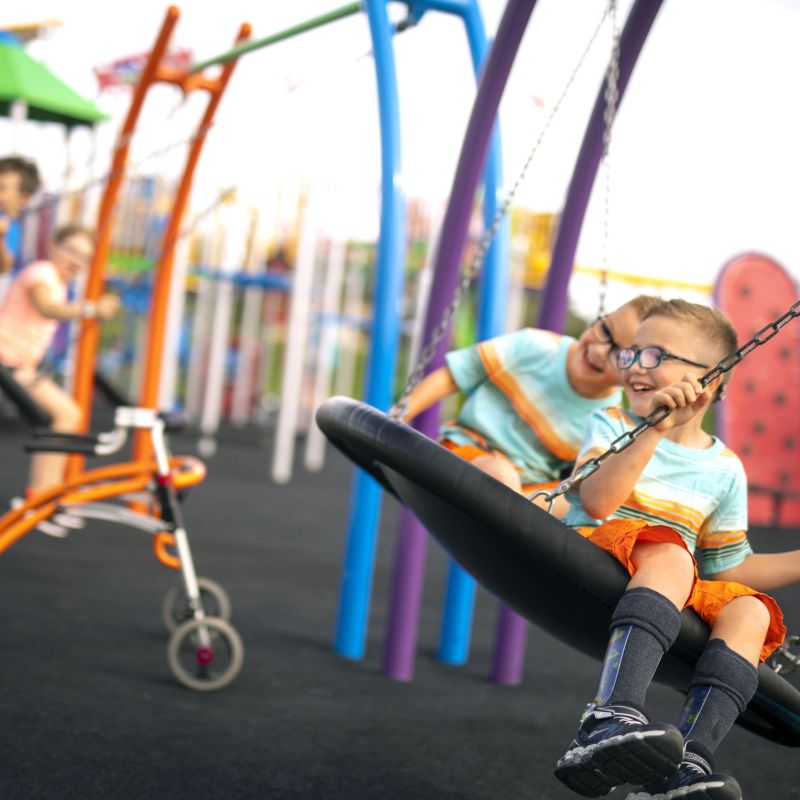
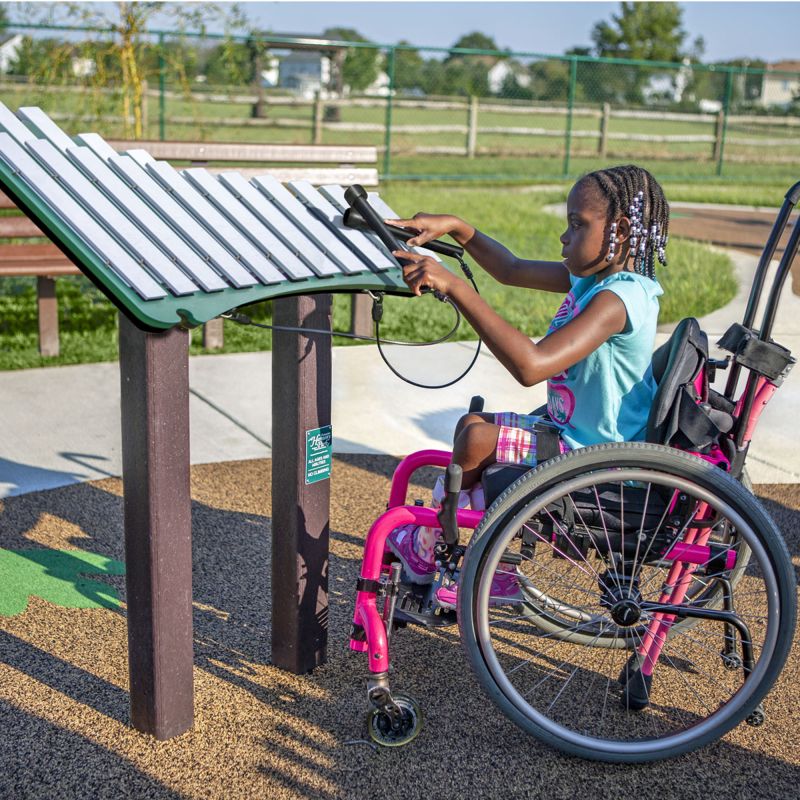
- are there considerations regarding special needs or inclusivity?
- how important are clear sight lines and ease of supervision?
- is vandalism a concern?
- how important are safety, quality, durability and warranty?
- how important is sourcing a Canadian-made product?
- is ease of installation a concern?
3. Set a Budget
As with any large project, setting a budget is essential step. Be sure to take into account the following:
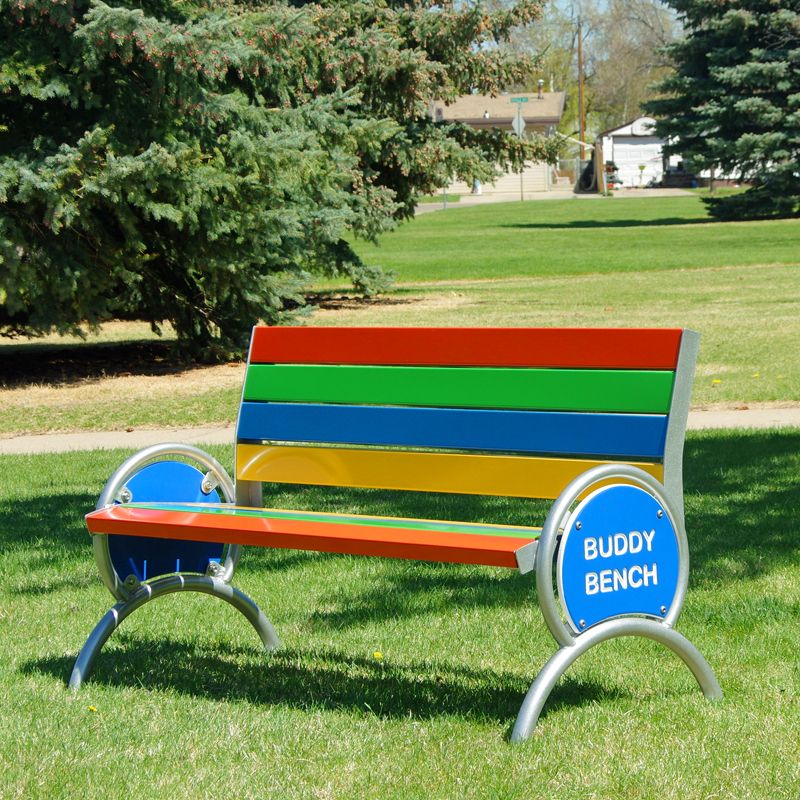
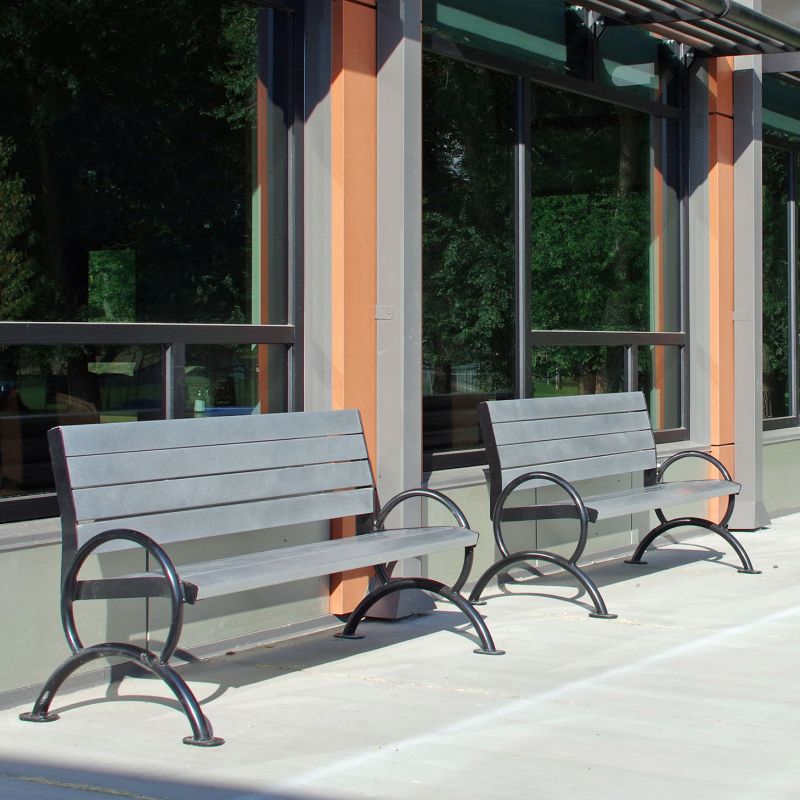
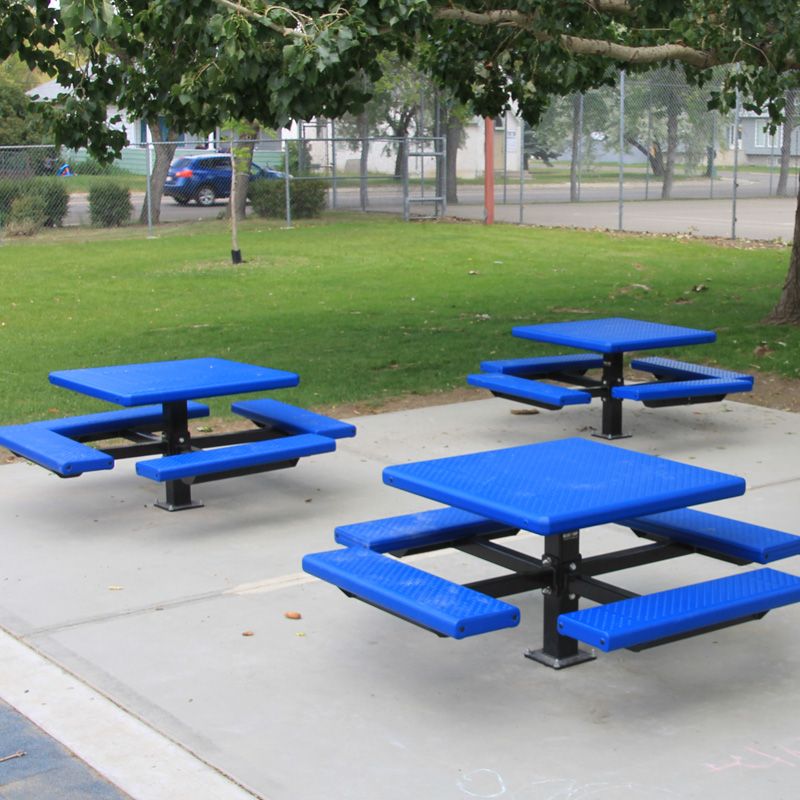
- play equipment including additional items such as park furniture
- borders and safety surfacing
- shipping of equipment and surfacing; temporary storage
- site preparation, installation and site reclamation
4. Source the Funds
Sourcing the funds for your playground project can be a a daunting task, but help is available! Your Blue Imp rep can provide support to help you reach your fundraising goals:
- sourcing grants and preparing grant applications
- approaching and securing sponsors and partners
- choosing effective, high-profit fundraisers
- providing customized promotional material
- ask about our “FunRaiser” Toolkit
5. Select the Site
Selecting the best site for your playground is key to success. Before settling on a location, we encourage you to take time to confer with the landowner, maintenance department and/or other stakeholders. Try to find a site that has the following attributes:
- easily accessible for all users including maintenance
- highly visible and well-lit for maximum safety
- large enough to accommodate your user group
- relatively flat with good drainage
6. Select your Design
This is the exciting part! Be sure to refer to your list of objectives and consult your Blue Imp rep to help make your dreams a reality. Our experienced sales and design team provide professional playground planning, design and consultation services entirely free of charge, including:
- meeting with your group to discuss needs/options/objectives/concerns
- preparing a proposal with 3D images and drawings of the proposed designs
- modifying the design until it is exactly right for your needs
- providing a site plan showing boundaries, dimensions, orientation, components, etc.
- ensuring all safety specifications are met or exceeded
7. Choose Your Surfacing
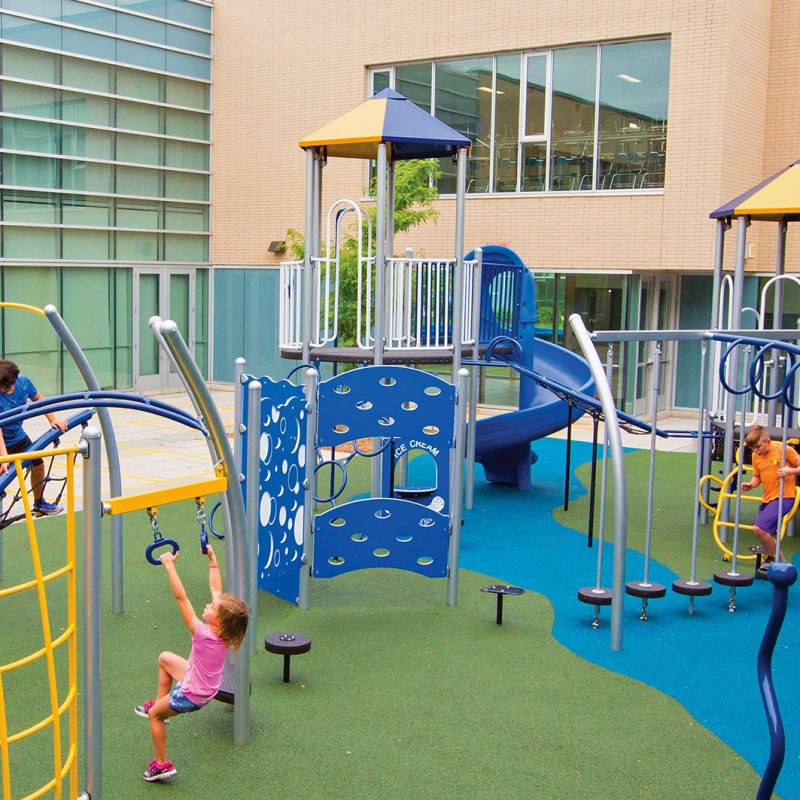
All playgrounds must be installed over resilient surfacing to prevent injuries from falls. Your Blue Imp rep can help decide which option is best suited for your project. Options include:
- pea gravel or sand
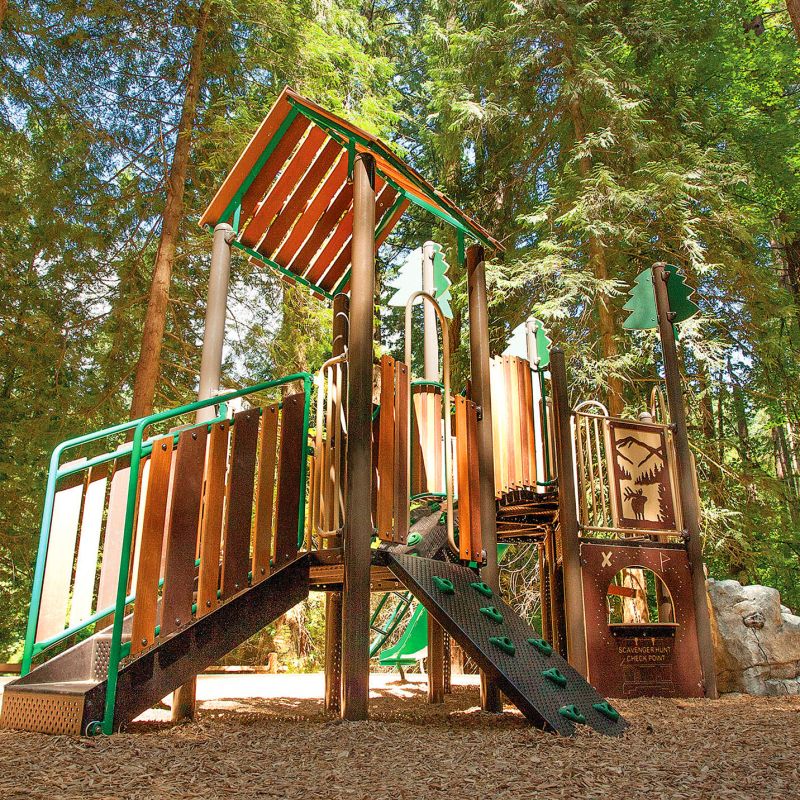
- engineered wood fibre
- pour-in-place rubber
- rubber tiles
- synthetic turf
8. Plan the Installation
Budget requirements usually mean that site preparation and installation decisions are made during the planning stages. Consult your Blue Imp rep early on about what installation method will work best for your project. Your rep will help you plan and prepare, co-ordinate with suppliers and contractors as needed and follow up post-installation.
- supervised install (community build): supervised by a professional installer, a crew of volunteers will prepare the site as well as assemble and install the equipment
- professional install: complete site prep/installation by an insured, factory-certified crew
- combination install: site prep by your own workers/volunteers, followed by professional assembly and installation (other combinations are available)
